")
Working on a project with a group can be exciting, but it also comes with challenges. From sharing files to making sure everyone’s ideas are included, teamwork often requires a lot of coordination. That’s where CapCut Desktop Video Editing Software comes in handy. With its simple design, powerful editing tools, and collaborative features, it makes working together on video projects easier than ever. Whether you’re a student making a group presentation, a small business creating marketing content, or a creative team working on social media videos, CapCut offers the right mix of efficiency and flexibility.
Why Use CapCut Desktop for Collaboration?
Before diving into the steps, let’s look at why CapCut Desktop is a strong choice for teamwork:
-
Cross-platform compatibility – Team members can work on different devices, including Windows, Mac, and mobile. This makes it easier to share and continue editing without worrying about file issues.
-
User-friendly design – CapCut’s drag-and-drop interface allows even beginners to jump in and contribute. You don’t need advanced editing skills to make meaningful contributions.
-
Cloud storage options – Instead of passing large files back and forth through email or drives, CapCut offers cloud syncing for smoother sharing. Everyone can access the same project files.
-
Collaboration tools – From adding text notes to exporting drafts quickly, the platform is built to support teamwork without slowing down the creative process. CapCut offers a range of amazing tools, including Voice Changer, AI Video Generator, Text to Speech, and more, that can transform your projects.
With these features, CapCut Desktop helps groups avoid the usual confusion of who has the “latest version” of a file or how to combine everyone’s edits.
How to Collaborate on Projects Using CapCut Desktop
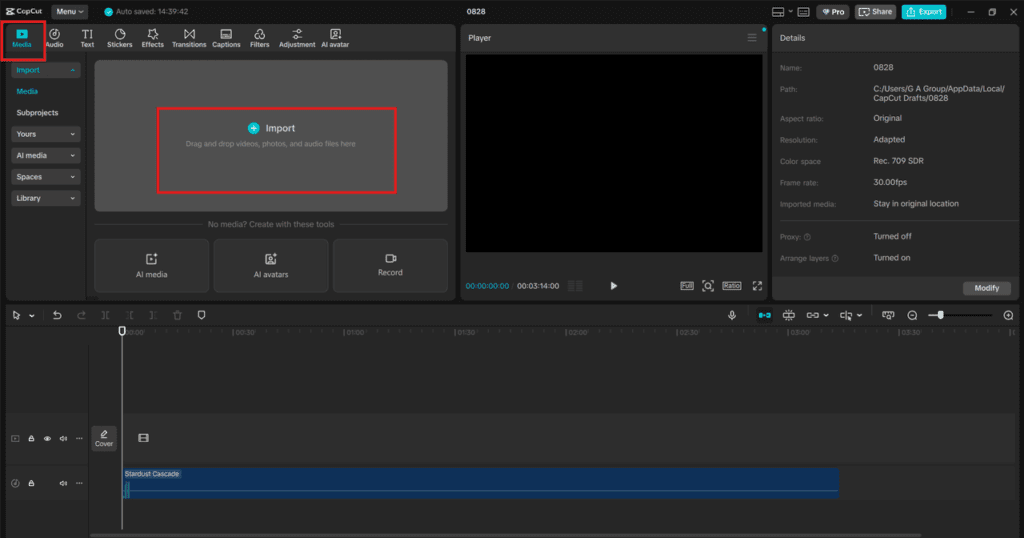
Step 1: Set Up a Shared Workspace
The first step in collaborating on CapCut Desktop is creating a central space for everyone to work from.
-
Create a project folder: Start by making a dedicated folder within CapCut Desktop for your project. Name it clearly so all team members can identify it quickly.
-
Use cloud syncing: CapCut’s cloud feature allows you to store media and project files online. Share access with your teammates so everyone can upload videos, music, or images into the same workspace.
-
Organize assets: To save time, organize your media into labeled folders (like “Intro Clips,” “Background Music,” or “Graphics”). A clean workspace reduces confusion when several people are contributing. By setting up this shared environment, you ensure that everyone has access to the same materials and can begin editing without delays.

Step 2: Divide Roles and Responsibilities
Successful collaboration depends on clear roles. CapCut makes it simple to assign tasks and let everyone focus on their strengths.
-
Editors: One or two team members can focus on trimming clips, adjusting transitions, and syncing audio.
-
Designers: Others may take charge of adding text, stickers, or animations using CapCut’s creative tools.
-
Reviewers: At least one person should handle reviewing drafts, providing feedback, and ensuring the video aligns with the project’s goals.
You can also use CapCut’s features to edit your photos, edit notes, or export previews for quick feedback. This way, instead of everyone editing the same clip at once, responsibilities are divided, saving time and avoiding overlap. For example, if you’re working on a school project, one person might handle the introduction slides, another might edit the main content, and a third could polish the closing sequence with music and effects.
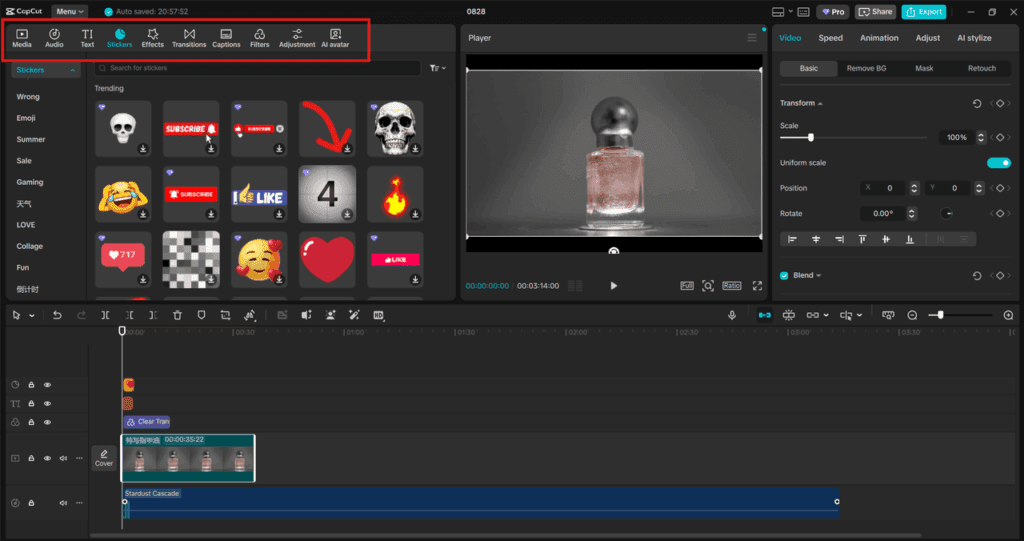
Step 3: Review, Refine, and Finalize
Once all parts of the video are edited, it’s time to bring everything together.
-
Combine edits: Import the different sections your team members worked on into a single timeline. CapCut’s drag-and-drop function makes this easy.
-
Polish with effects: Add final touches like transitions, filters, or background music. You can also use tools like voiceovers or the auto-caption feature for accessibility.
-
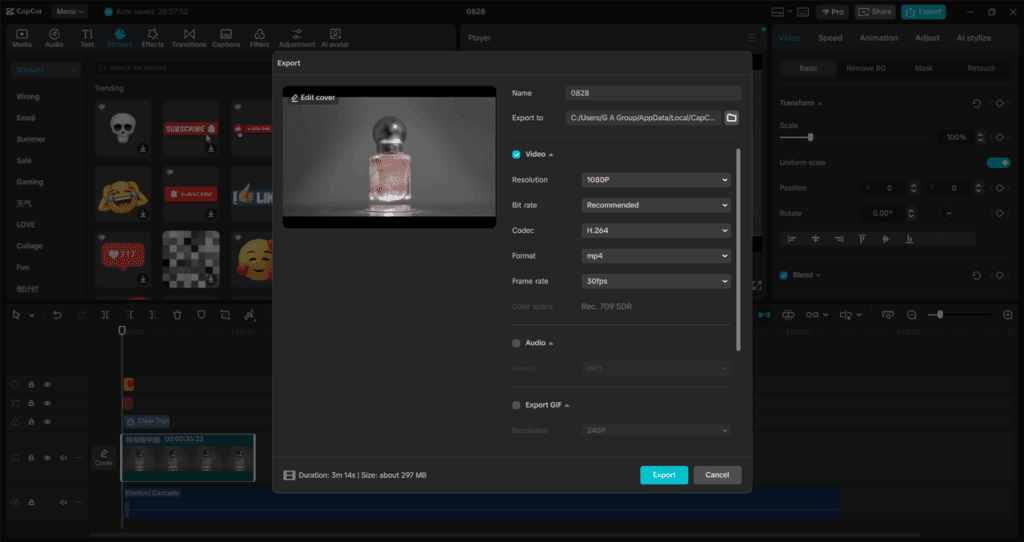
Get feedback: Export a draft version and share it with the team. Ask for quick notes on timing, visuals, or audio.
-
Finalize and export: Once all adjustments are made, export the finished video in the required format. CapCut supports multiple resolutions so that you can choose the best option for your platform—whether that’s YouTube, TikTok, or a presentation. This final stage ensures that all contributions are merged into one polished product, representing the team’s combined effort.
Conclusion
Collaboration doesn’t have to be complicated. With CapCut Desktop Video Editing Software, you and your team can work together seamlessly on creative projects. By setting up a shared workspace, dividing roles clearly, and refining the final product together, you’ll save time and create high-quality videos that reflect everyone’s input. Whether you’re editing for school, work, or fun, CapCut provides the tools you need to bring your team’s vision to life. The best part? You don’t have to be a professional editor to use it—CapCut is designed so anyone can contribute and feel part of the process. So next time you’re planning a group project, skip the endless file transfers and confusing edits. Open CapCut Desktop, invite your team, and start collaborating with ease. CapCut also has an online photo editor, which you can try for free!


